
Training an image recognition model is less about clever algorithms and more about getting the fundamentals right. Good data, clear labels, and a thoughtful training process matter far more than chasing the latest architecture. Skip any of those, and even the best model will struggle in the real world.
This guide walks through how teams actually train image recognition models that hold up outside the lab. Not theory-heavy, not academic. Just a clear look at what to focus on, what usually goes wrong, and how to build a model that learns reliably and improves over time.
What Training an Image Recognition Model Really Involves
Before getting into the steps, it helps to reset a common misconception. Training an image recognition model is not about teaching a system to “see” the way humans do. It is about teaching it to recognize statistical patterns in pixels and associate those patterns with labels you define.
At its core, training means showing a model many examples of images, telling it what is correct, and letting it adjust itself based on mistakes. Over time, the model learns which visual signals matter and which ones can be ignored. Edges, textures, shapes, color transitions, and spatial relationships all become part of this internal representation.
This process depends on three things more than anything else:
- The quality and relevance of the data
- The clarity and consistency of labels
- The feedback loop created through evaluation and iteration
Algorithms and architectures matter, but they rarely compensate for weak data or unclear goals. A simple model trained on well-prepared data will almost always outperform a complex model trained carelessly.
It is also worth understanding that training is not a one-time action. Image recognition systems improve gradually. Early versions are often rough. Performance increases as data improves, edge cases are added, and assumptions are corrected.
With that mindset in place, the step-by-step process below becomes easier to follow and far more effective to apply.
Our Approach to Training Image Recognition Models at FlyPix AI
At FlyPix AI, we train image recognition models for real geospatial conditions, not controlled demos. Satellite, aerial, and drone imagery comes with noise, variation, and complexity, so our training process is built to handle scale, inconsistency, and edge cases from the start.
We make it possible to train custom AI models without coding, while keeping full control over what the model detects and how it learns. Users define objects, annotations, and priorities. Our platform takes care of model training, optimization, and infrastructure behind the scenes.
Training is not treated as a one-time step. We design it as an iterative process where models improve as new imagery appears and conditions change. Active learning helps focus training on uncertain cases, so effort goes where it actually improves accuracy.
Our goal is not just speed, but reliability. By training on real-world geospatial data, we ensure models hold up in production, not just in tests. The result is image recognition that turns complex imagery into usable insights across industries like agriculture, infrastructure, forestry, and government.
The Practical Steps Behind Training an Image Recognition Model
Training an image recognition model is not one big technical leap. It is a sequence of small, deliberate decisions that build on each other. Each step solves a specific problem, and skipping or rushing any of them usually shows up later as poor accuracy, unstable predictions, or a model that works only in ideal conditions.
The steps below follow the way image recognition systems are trained in real projects. They move from defining the task and preparing data to training, evaluation, and long-term maintenance. While tools and architectures may change, this underlying process stays surprisingly consistent across industries and use cases.
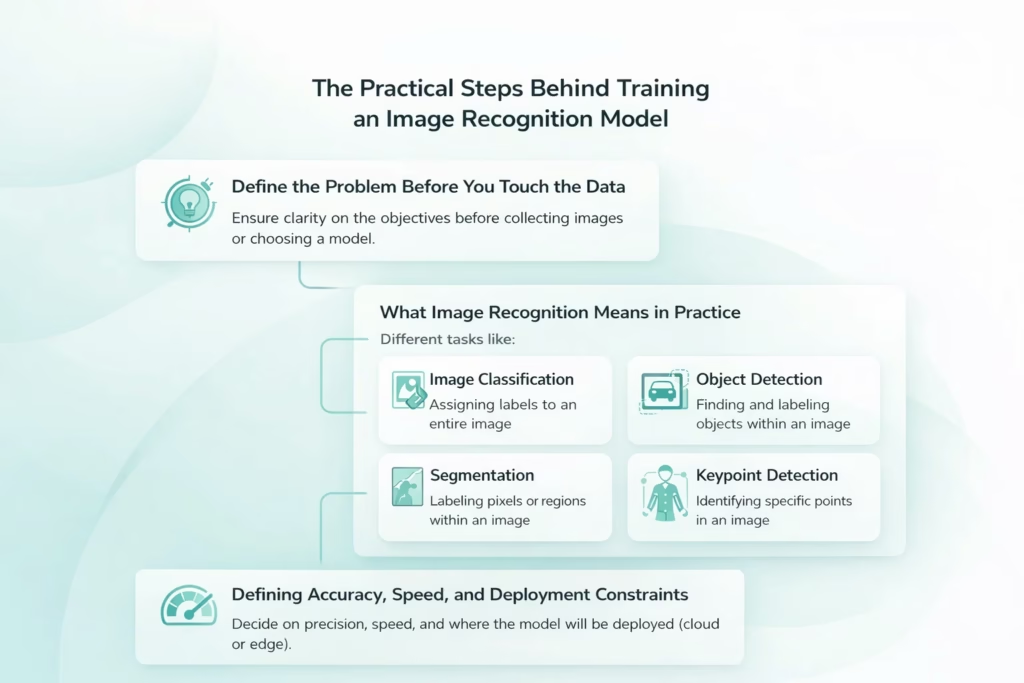
Step 1: Define the Problem Before You Touch the Data
Before collecting images or choosing a model, you need clarity on what the system is supposed to do. This sounds obvious, but it is where many projects quietly derail. Vague goals lead to the wrong data, the wrong labels, and the wrong evaluation criteria.
What Image Recognition Means in Practice
Image recognition is not a single task. It can take different forms depending on what you want the system to produce.
- Image Classification. Assigning one or more labels to an entire image.
- Object Detection. Finding objects within an image and identifying their locations and categories.
- Segmentation. Labeling pixels or regions instead of drawing bounding boxes, often used when precision matters.
- Keypoint Detection. Identifying specific points in an image, such as joints, landmarks, or reference markers.
Each of these approaches requires a different training setup, annotation strategy, and evaluation method. A model trained for image classification will not automatically work for object detection. The structure of the output defines everything that follows.
Defining Accuracy, Speed, and Deployment Constraints
Beyond the task itself, you also need to decide how precise the system needs to be. Is a rough classification acceptable, or do you need pixel-level accuracy? Is speed more important than accuracy? Will the model run in the cloud or on edge devices with limited resources?
Answering these questions early prevents overengineering and helps you choose the right tradeoffs later in the training process.
Step 2: Collect Data That Reflects the Real World
An image recognition model only learns what you show it. If the training data does not resemble real usage, performance will fall apart after deployment.
Good datasets are not just large. They are representative.
That means:
- Images taken under different lighting conditions
- Variations in angles, distances, and perspectives
- Different backgrounds and environments
- Partial occlusions and overlaps
- Real imperfections like blur, noise, or compression artifacts
A common mistake is training on clean, ideal images and expecting the model to work in messy conditions. Real cameras do not behave like curated datasets.
Another frequent issue is class imbalance. If one category appears far more often than others, the model will learn to favor it. You might get high accuracy on paper while missing rare but important cases. At this stage, it is better to have fewer images that reflect reality than a massive dataset that does not.
Step 3: Prepare and Structure the Dataset Properly
Once images are collected, they need to be organized in a way the model can actually learn from. This is where discipline matters. Small shortcuts at this stage often turn into confusing training behavior later.
- Core Dataset Organization Rules. Before training begins, images should follow a few basic structural principles.
- Consistency Across Images. All images should be consistent in format and resolution. Mixing image sizes, color spaces, or file types introduces unnecessary variability and slows down learning.
- Clear Dataset Splits. Images must be clearly separated into training, validation, and test sets, with no overlap between them.
- No Duplicate Data Across Splits. Duplicate or near-duplicate images across different splits create misleading evaluation results and false confidence in model performance.
Recommended Train, Validation, and Test Split
A typical dataset split looks like this:
Training Set
Usually 60 to 80 percent of the total dataset. This is where the model learns patterns and features.
Validation Set
Typically 10 to 20 percent. Used to tune hyperparameters and monitor performance during training.
Test Set
Usually 10 to 20 percent. Reserved strictly for final evaluation.
The test set should remain untouched until the very end. Using it to guide decisions during training defeats its purpose.
Preprocessing and Normalization
Images also need preprocessing before training begins. This usually includes resizing images to a fixed input size and normalizing pixel values.
Normalization helps the model converge faster and behave more consistently across different images by keeping input values within a predictable range.
Poor dataset structure causes subtle problems that are hard to debug later, which is why slowing down at this step saves time overall.
Step 4: Label and Annotate With Care
Annotation quality has a direct impact on model performance. Models do not learn intent. They learn patterns from labels.
For classification tasks, labels must be unambiguous. If two classes overlap conceptually, the model will struggle no matter how advanced it is.
For object detection and segmentation, annotation accuracy matters even more:
- Bounding boxes should be tight and consistent
- Objects should not be missed or labeled inconsistently
- Edge cases should follow clear rules
Annotation guidelines should be written down before large-scale labeling begins. Otherwise, different annotators will interpret the same image differently.
AI-assisted labeling can speed things up, but human review is still essential. Small annotation errors add noise, and noise accumulates quickly. If the model seems confused later, the issue is often not the architecture but the labels.
Step 5: Use Data Augmentation to Improve Generalization
Even strong datasets benefit from augmentation. Augmentation introduces controlled variation into the training data without requiring additional image collection, helping the model learn more robust visual patterns.
Common techniques include rotating or flipping images, adjusting scale or cropping regions, modifying brightness and contrast, and introducing small amounts of noise or blur. Each of these changes exposes the model to slightly different visual conditions while preserving the underlying structure of the image.
The goal is not to distort images randomly. Augmentation should simulate the kinds of variation the model is likely to encounter after deployment. For example, rotating medical images may be reasonable in some contexts, while flipping text recognition images would break their meaning. What works depends entirely on the problem domain.
When applied thoughtfully, augmentation reduces overfitting and improves a model’s ability to generalize to images it has never seen before.
Step 6: Choose a Model Architecture That Fits the Task
Model choice matters, but not as much as many people think. A well-trained simpler model often outperforms a poorly trained complex one.
For most image recognition tasks, Convolutional Neural Networks remain the baseline. Architectures like ResNet and EfficientNet offer strong performance and flexibility.
If speed is critical, especially for real-time detection, single-shot detectors like YOLO are commonly used. They trade some accuracy for speed and simplicity.
Vision Transformers can deliver excellent results on large, diverse datasets, especially for high-resolution images. However, they require more data and compute and are not always practical.
In many cases, transfer learning is the best option. Starting from a pre-trained model saves time and improves results, especially when labeled data is limited.
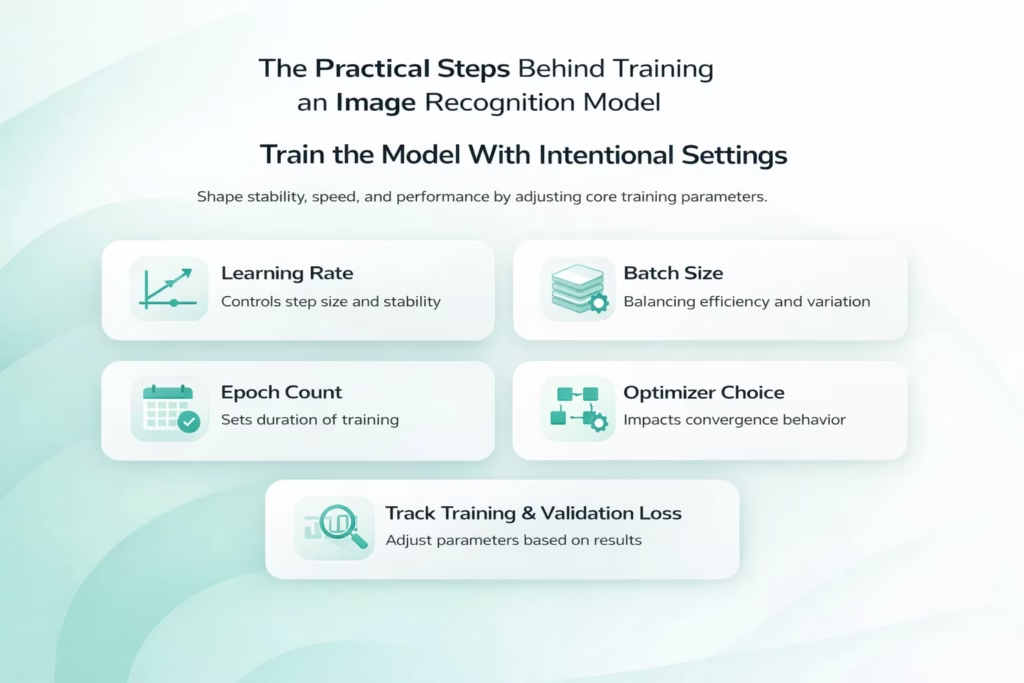
Step 7: Train the Model With Intentional Settings
Training is not just pressing run and waiting. How the model learns depends on a small set of parameters that directly shape stability, speed, and final performance.
Core Training Parameters That Shape Learning
Several settings work together during training. Each one affects how the model updates itself and responds to errors.
Learning Rate and Training Stability
The learning rate controls how quickly the model updates its internal weights. If it is set too high, training becomes unstable and may fail to converge. If it is too low, learning slows down and the model can get stuck in weak solutions that never improve meaningfully.
Batch Size and Resource Balance
Batch size influences both training stability and memory usage. Larger batches tend to produce smoother updates but require more computational resources. Smaller batches introduce more variation into updates, which can sometimes help generalization but may also slow convergence.
Epoch Count and Training Duration
The number of epochs determines how long training continues. Too few epochs may leave the model undertrained, while too many can lead to overfitting if performance stops improving on validation data.
Optimizer Choice and Convergence Behavior
Optimizer selection affects how efficiently the model navigates the loss landscape. Different optimizers handle gradients, momentum, and learning dynamics in different ways, which can noticeably change training behavior.
Monitoring Training and Validation Signals
Tracking both training and validation loss is essential throughout the process. If training accuracy continues to improve while validation performance plateaus or declines, overfitting is likely occurring.
This is where patience pays off. Adjusting one parameter at a time makes it easier to understand what actually improves results, instead of introducing confusion by changing multiple variables at once.
Step 8: Apply Regularization to Prevent Overfitting
Overfitting is one of the most common problems in image recognition. The model performs well on training data but fails on new images.
Regularization techniques help control this:
- Dropout forces the model to rely on multiple features
- L1 and L2 penalties prevent weights from growing too large
- Early stopping halts training before over-optimization
These techniques are not fixes for bad data. They are safeguards that work best when the dataset is already solid.
A model that generalizes well often looks less impressive during training but performs better where it counts.
Step 9: Evaluate With the Right Metrics
Accuracy alone rarely tells the full story. Especially in imbalanced datasets, it can be misleading.
Better evaluation includes:
- Precision to understand false positives
- Recall to understand missed detections
- F1 score to balance both
- Confusion matrices to identify class-level issues
- AUC-ROC for binary classification problems
For object detection, metrics like Intersection over Union and mean average precision are essential.
Evaluation should always be done on data the model has never seen. Otherwise, results give false confidence.
Step 10: Validate in Realistic Conditions
Offline metrics are not enough to understand how an image recognition model will behave once it is deployed. Validation needs to happen in environments that closely resemble real production use.
Testing Beyond Offline Benchmarks
Realistic validation often means running inference on live camera feeds or real-time data streams, rather than static test images. It can also involve testing the model on different hardware setups, especially when deployment includes edge devices with limited resources.
Evaluating performance under varying system load is just as important. A model that performs well in isolation may behave very differently when processing large volumes of data or operating alongside other services. Manual review of failure cases at this stage often reveals patterns that automated metrics miss.
Many issues only appear during this phase. Latency spikes, memory constraints, and unexpected edge cases can change how the model behaves in practice. Validation is where theoretical performance gives way to real-world behavior, and where final adjustments often matter most.
Step 11: Iterate Based on Evidence, Not Assumptions
Very few models are correct on the first try. Iteration is expected.
Good iteration is driven by analysis:
- Review false positives and false negatives
- Identify missing data patterns
- Adjust labels or augmentation strategies
- Fine-tune hyperparameters thoughtfully
Adding more data often helps more than tweaking architectures. Especially data that represents failure cases. Iteration should narrow uncertainty, not introduce randomness.
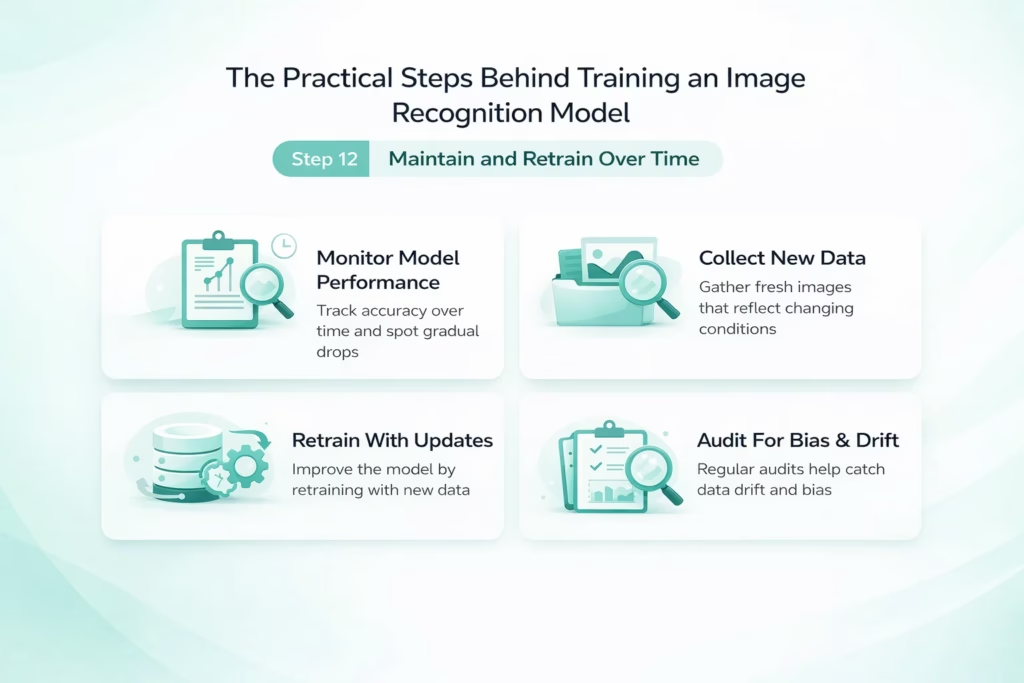
Step 12: Maintain and Retrain Over Time
Image recognition models are not static systems. Environments change, sensors evolve, and real-world usage rarely stays fixed. Without ongoing attention, even strong models slowly lose accuracy.
Why Maintenance Is a Continuous Requirement
Once deployed, a model begins interacting with new data patterns. Changes in lighting, weather, camera hardware, or user behavior can all shift how images look compared to the original training set. This makes ongoing maintenance essential rather than optional.
Monitoring Model Performance
Tracking performance over time helps surface gradual accuracy drops that may not trigger immediate alerts. Silent degradation is common in image recognition systems and often goes unnoticed without regular monitoring.
Collecting New and Representative Data
As conditions change, new data needs to be captured and reviewed. This ensures the training dataset continues to reflect real usage rather than outdated assumptions.
Retraining With Updated Datasets
Retraining allows the model to incorporate new examples and correct emerging weaknesses. It is often more effective to retrain incrementally than to wait for performance to decline significantly.
Auditing Bias and Data Drift
Regular audits help detect bias, class imbalance, and data drift that can slowly distort predictions. Addressing these issues early keeps the model reliable across different environments and populations.
Teams that plan for retraining from the start tend to build systems that last. Instead of reacting to failures, they treat image recognition as a living process that improves alongside the data it learns from.
Final Thoughts
Training an image recognition model is not about chasing perfection. It is about building a system that learns reliably, adapts over time, and behaves predictably in the real world.
Strong results come from fundamentals done well: thoughtful data collection, careful labeling, reasonable model choices, and honest evaluation.
When those pieces are in place, the model does not need to be flashy. It just needs to work.
And when it works, it tends to keep working, even as conditions change.
Frequently Asked Questions
The timeline depends on the scope of the task, the size and quality of the dataset, and whether you use pre-trained models. Simple classification models can be trained in days or weeks, while more complex object detection or segmentation systems often take several weeks to months when data preparation, validation, and iteration are included.
There is no fixed number. Some models perform well with a few thousand high-quality images, especially when transfer learning is used. Others require tens or hundreds of thousands of images to generalize reliably. What matters more than volume is whether the data reflects real-world conditions and edge cases.
No. In most cases, starting from a pre-trained model is the better option. Transfer learning reduces training time, improves performance with limited data, and lowers infrastructure costs. Training from scratch is usually reserved for highly specialized domains or very large datasets.
Poor data quality is the most common issue. Inconsistent labels, missing edge cases, unrealistic training images, or data leakage between datasets often cause more damage than model choice or hyperparameter settings.
Overfitting usually shows up when training performance keeps improving but validation performance stops improving or starts to decline. This indicates the model is learning the training data too closely and failing to generalize to new images.